Showing posts with label AutoCAD. Show all posts

Tuesday, October 23, 2012

Top Secret: Boom Operator Final...

Big thanks to Bill, and all my new friends out at the:


they put up with me slugging paint around, whining, and taking in all that fantastic pictures and memorabilia on display... all the while, recreating their Unit Patch on the walls of their offices...

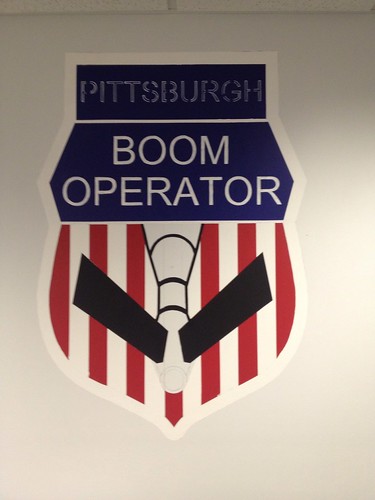
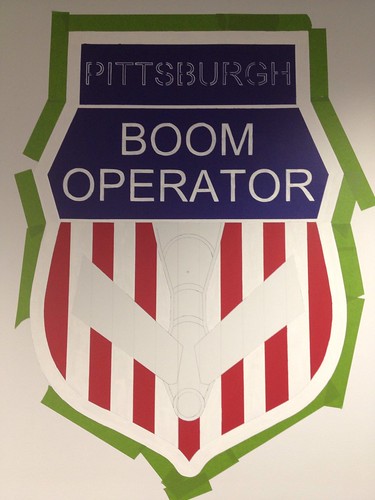
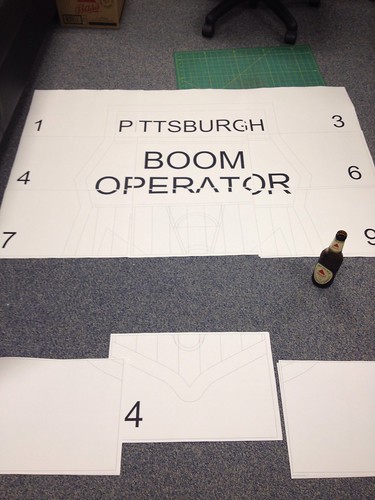
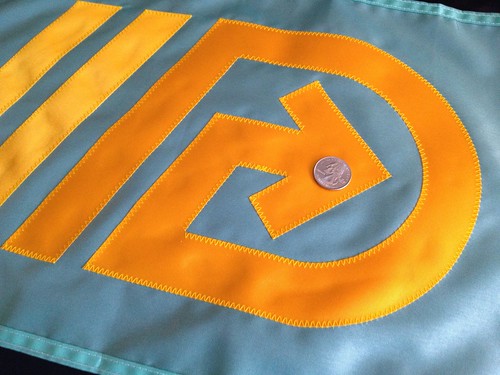
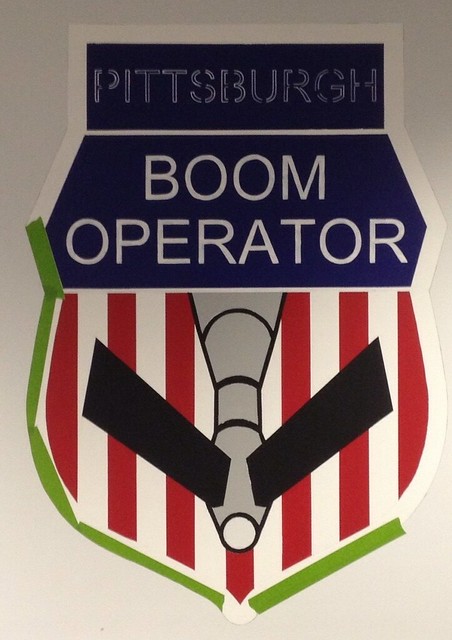
here is where we last left the unit patch: 

Untitled

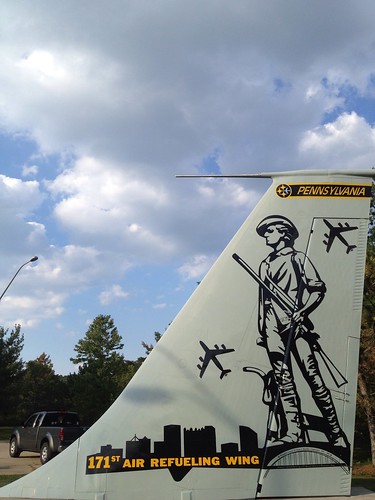
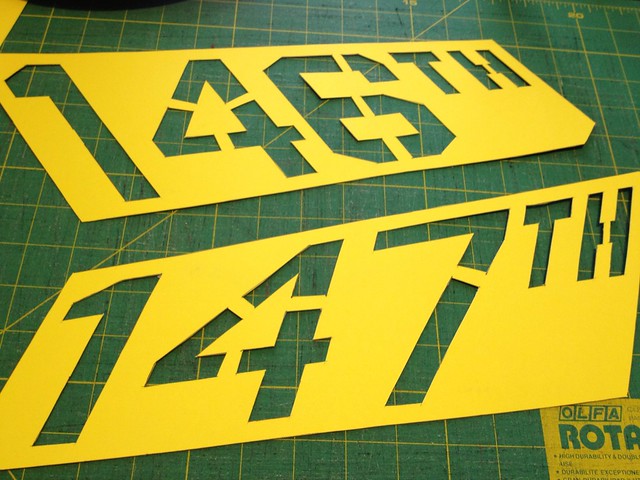
about half way through the work, they decided that they wanted their Squadron numbers to be painted onto the ruddervators:
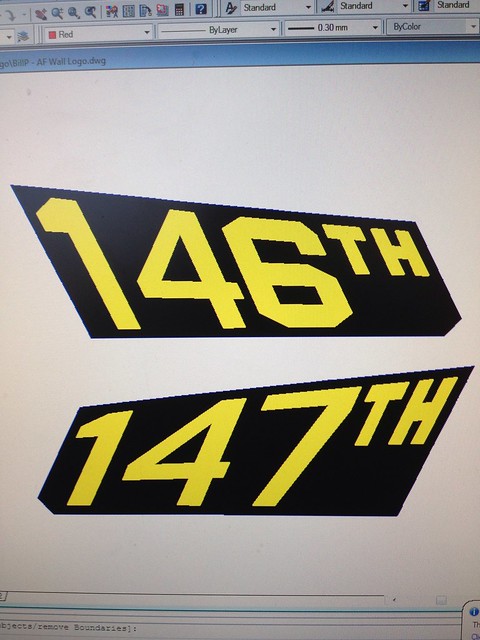
Untitled

no problem:

Untitled

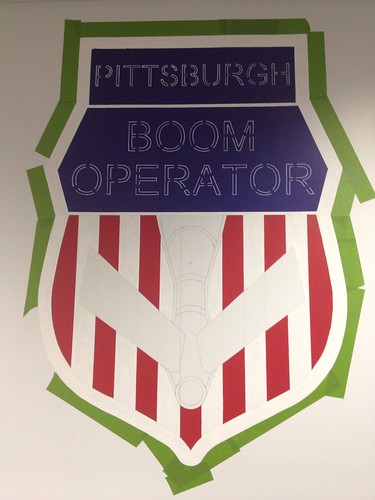
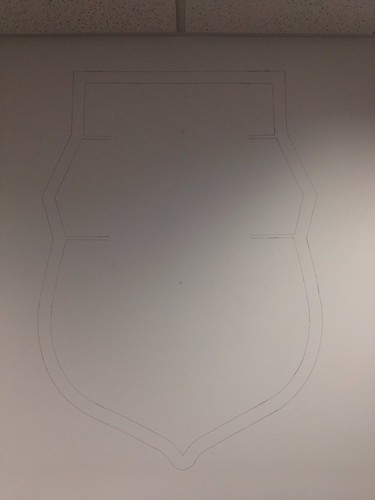
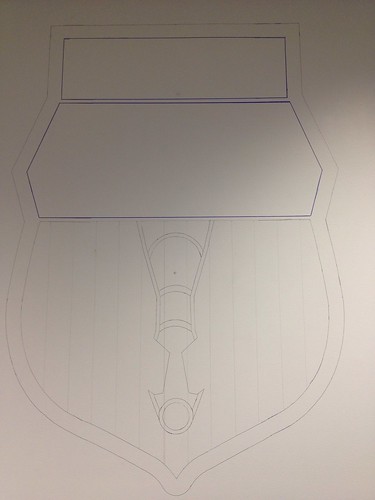
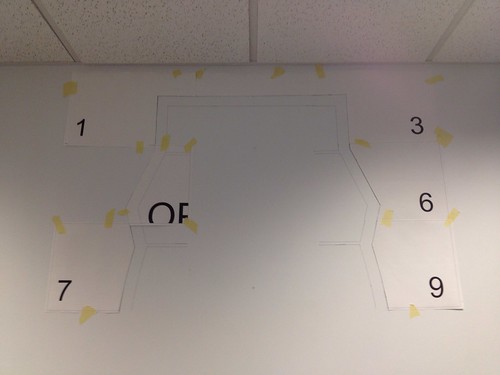
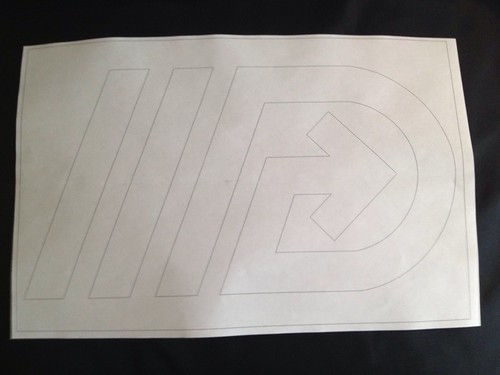
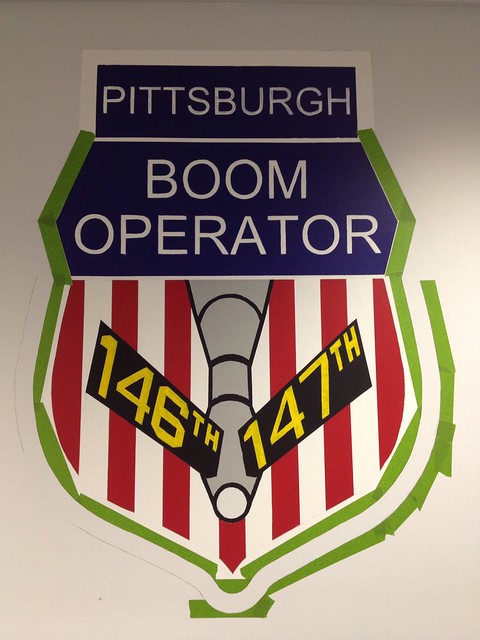
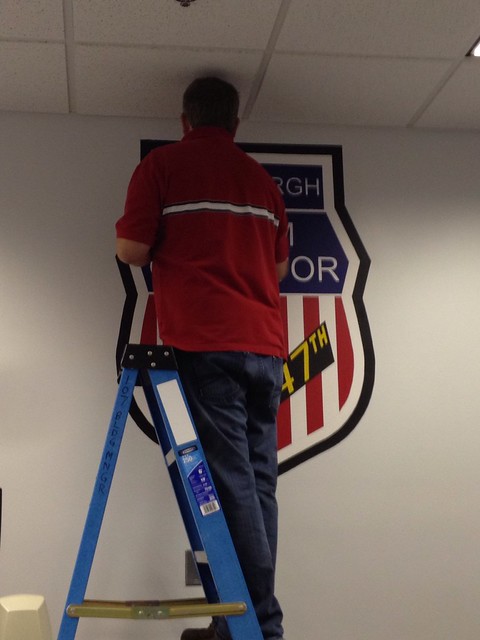
we also decided to paint an outline around the whole patch. the white just wasn't working against the color of the wall. so we used a template, sketched out the shape, and taped it off:

Untitled

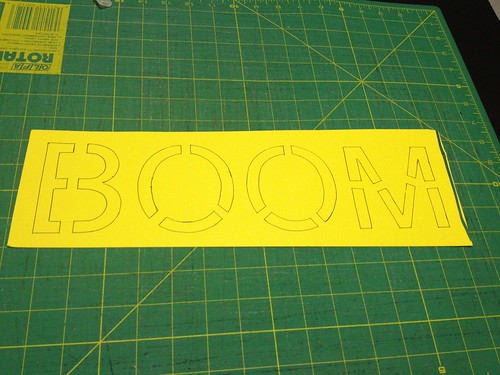
here I am putting some finishing touches on the letters:

Untitled

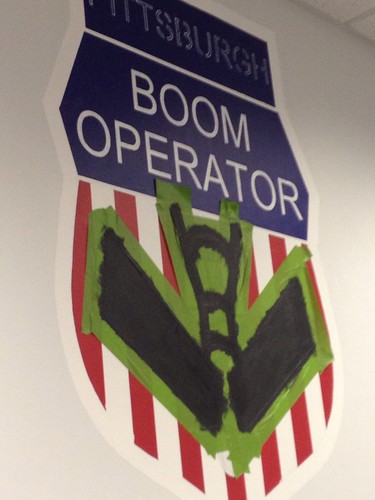
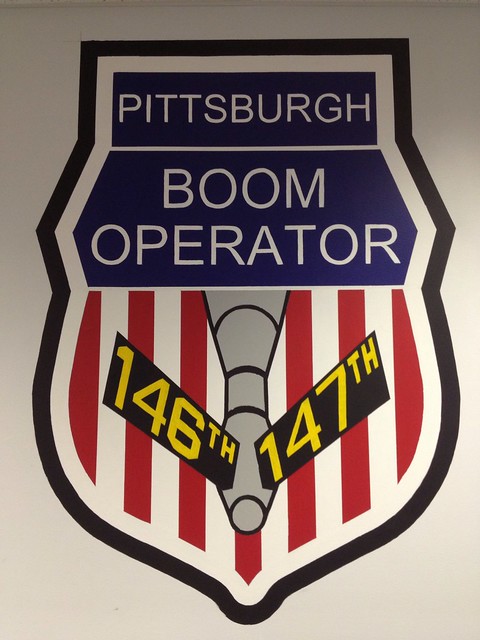
and here it is, pretty much finished. just need to do some really light touch-up work in and around the gray boom area. no biggie at all:

Untitled

and here is your "artist" standing "triumphantly"

Untitled
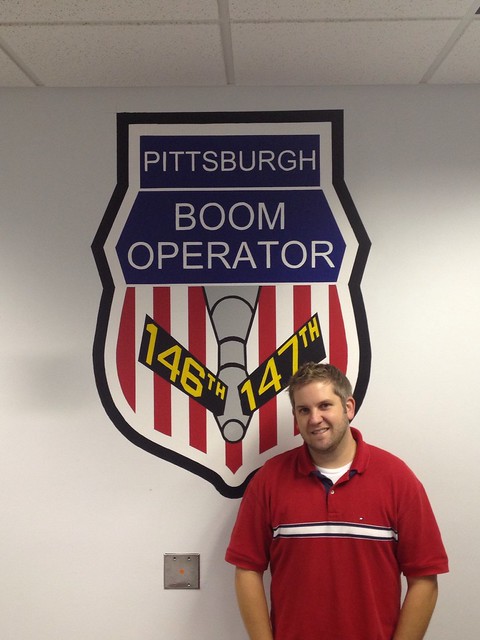
 (insert your own words for "artist" and "triumphantly")

again, MUCH thanks to the 171st Boom Operators for letting me take on this project! as always, thank you for your service!!!

-RyCo

Tuesday, October 2, 2012

Top Secret: Day 6

thanks to my lovely assistant Bill, here is the progress:

Untitled

Untitled

won't be long now...

however, thinking of making some on the go modifications, and adding more yellow/gold than originally planned!

Tuesday, September 18, 2012

Top Secret: Day 5/Trip 3

secret is OUT Pittsburgh, here is where i've been hiding:

Untitled
see my truck?

made another trip out, and put these stencils to work:

Untitled


Untitled

whew! everything seems centered...

Untitled

end of Day 5:
1.5 hours of work

Monday, September 10, 2012

Top Secret: Day 3/Trip 2

the second trip out to these projects is always a fun one. pretty much everything is sketched out on the wall by the end, and it just gets you that much more excited.

Untitled

about ready to lay on some paint:

Untitled

end of Day 3/Trip 2:
1.5 hours of work

Tuesday, September 4, 2012

Top Secret: Day 1/Trip 1

with my latest project comes security clearance!

i'm at an undisclosed location, doing an undisclosed project, for undisclosed people... but... if you're familiar Pittsburgh, you know exactly where i am. also, it's not top secret at all... just sounds cool to me!

i won't be giving away what i'm doing, but stay tuned and enjoy the pics:

getting the $.05 tour:

Untitled


Untitled

flight simulator. toppin' off a C-5 Galaxy:

Untitled

pro move, totally forgot to print out sheets 10, 11 & 12. know exactly where i'm wrapping this project up on this trip in particular

Untitled


Untitled

end of Day 1/Trip 1. 2 hours of work.

stay tuned for more!

Thursday, July 5, 2012

Flag DIY, DDC style...

i've recently became a huge fan of Aaron James Draplin and the Draplin Design Co. Also, i had this really cool looking Sea Foam flag that needed a project. Had some extra  Gold material form my Invaders projects. So i thought i'd add them all together and try something new... a DIY flag!

i took the main DDC logo from the "Freight Train Torso Cover"

merch_freight_train_t-shirt_main

copy, pasted, traced, scaled, and printed in AutoCAD, as i do almost always:
Untitled 

 cut out some temporary templates good for about 2-3 good traces:

Untitled 

sewed:
Untitled

look how much thread i had left... couldn't sew another straight-away! SO close:

Untitled

finished:

Untitled 

check out the scale... do those colors look sharp, or what?!?!

Untitled

Aaron & the DDC gang, hope you enjoy the flag!

to all of you reading this post, find an hour to watch this video of Aaron and his 50 Point Plan! might just change the way you approach a few things in life:

Tuesday, January 24, 2012

Penguins Logo

i was commissioned to paint a Penguins wall logo for a friend over the holidays.

first, i traced/drew the Penguins logo in AutoCAD. I scaled the logo up to 4ft tall. I then set a grid over top of the logo. each rectangle measuring 11" x 17"


i then printed out each piece on 11" x 17" paper:


set it out on the floor to get an idea of the scale:


then started taping, cutting, and tracing: 


i freehanded most of the gloves. i used "holes" and the overall outline of the glove for refrence, and just sketched in the rest


after 2 days, and 4 hours of work:


started out with black. a little work left on the glove & skates:


scale:


3 days, 6 hours total of work:


day 4, gold, 7 hours of work total:


adding white, after day 5, 8.5 total hours of work:


adding white outline. toyed with the idea of outlining the whole logo with a navy blue stripe, then a light blue stripe, or vice-versa per the 3rd/alt jerseys colors


finished! 6 trips, 10 hours of work. not the sharpest pic (have yet to upload it):


to scale against yours truly:


happy to finish up such a fun project:


i didn't exactly "labor" because A) i love to paint, and B) there was a big screen just out of the pics that i had tuned to various hockey action thru the whole process (would explain the 10 hours, eh?). but it turned out amazing! you just can't beat a hand painted piece of work opposed to a sticker or "fat head" wall hanging. and it was GREAT to step away from DIY jersey making and back into painting.

hope you all enjoy as much as the "client" did after finally seeing the "finished product"

hope you all have a happy, safe, and prosperous 2012!!!